After receiving some suggestions (via this blog's mirror on blogspot) that I provide some tutorials on low poly modeling, I said... why the heck not? Now I don't claim to be an expert on 3D or even building characters for games, but since we're focusing on Low Poly characters, I can ignore some greater lessons which I will only briefly mention here in the introduction. Things like Topology, where for more complex models that will move or transform in certain ways, proper establishment of edge loops and quad patterns will be necessary.
Typically, artists will create high resolution models in order to generate better textures for low poly models. That is probably the best approach, but not one I will teach here. These are strictly tutorials to be applied towards building a low poly model for a basic characters from scratch, so you will have to make sure you include necessary details when it comes to texturing and properly laying out your models. Another thing to note as most important when approaching pretty much everything is that there is seldom such a thing as "best practice" when it comes to technique. There's only "practice", so the best way to do anything is the way that you figure out on your own or can do fastest. Always being concerned about the best approach will only cause you to procrastinate. The sooner to start, the sooner to finish. Remember that.
Making your reference images
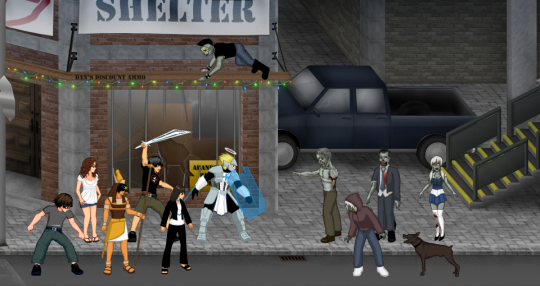
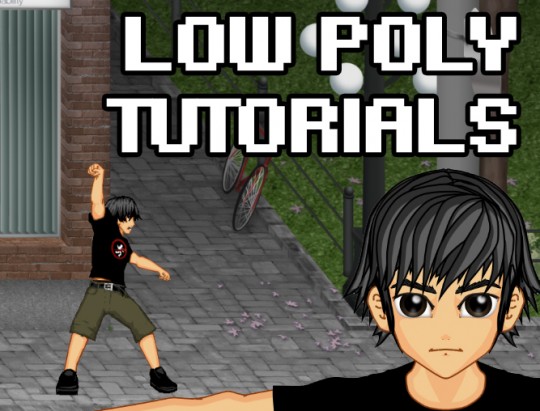
Knowing how to draw will be a great advantage, but don't worry if you don't. If you've been following this blog, you'd know that I've already established characters that will be used towards my new game. It was my intention to create a 2D action beat-em up with characters of very specific proportions. I initially planned on pixel drawing every model as I did in the image above, but later realized I would never finish my game in a reasonable timeframe with as many characters as I had. So we're going 3D and my personal intention is to use these as posing models for further 2D work.
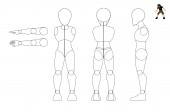
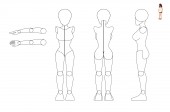
The images above are two templates I created in order to base further character models upon. If you wish, you may take them and generate your own characters. I have already moved forward and generated my main character based on this template. There are several ways to do this, however, my personal favorite is to use a program like Adobe Photoshop or any other painting program. If you print these templates and draw over them by hand, you should have a ruler in order to make sure you line up several elements in all the different views. You can also google several other templates if the proportions of these characters are not to your liking.
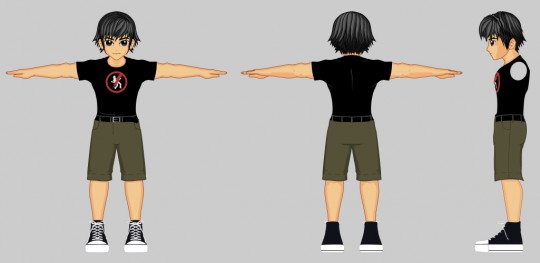
The character above will be the one used in the following episodes of this tutorial, so don't get too enthusiastic about the characters you make yourself since you might want to follow along using this template. The details on these characters are extremely minimal, so you shouldn't have too much trouble following along.
Planning out your geometry
Here's something I like to do before starting to give myself a general idea of how the model will be made. You can use a pencil and go nuts figuring it out, but it's pretty straightforward once you get started. You'll want to work in quads or four sided shapes as often as possible. There will be times when you feel the need to use triangles, which is okay because in games it will be converted to triangles anyways, but don't go using shapes with more than 4 sides.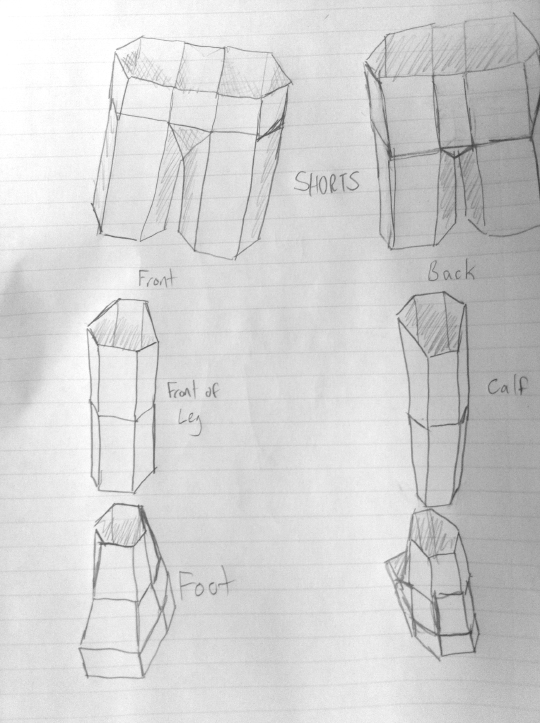
I like to start from the feet and limbs when possible because it's easier to plan the torso around it later. It's like something out of origami or papercraft when you think of it. You don't have to be the best artist in the world, but it helps to have an idea of how perspective drawing works. I may do a tutorial on that in the future but until then, you can just practice with it, or even get some actual paper and fold it, or you can just look at my drawings. In the crotch, I used a triangle, but I can just split that out into a quad by adding a gap, which will be better overall for leg movement. If Ieft it as a triangle, that would be some major cock pinching.
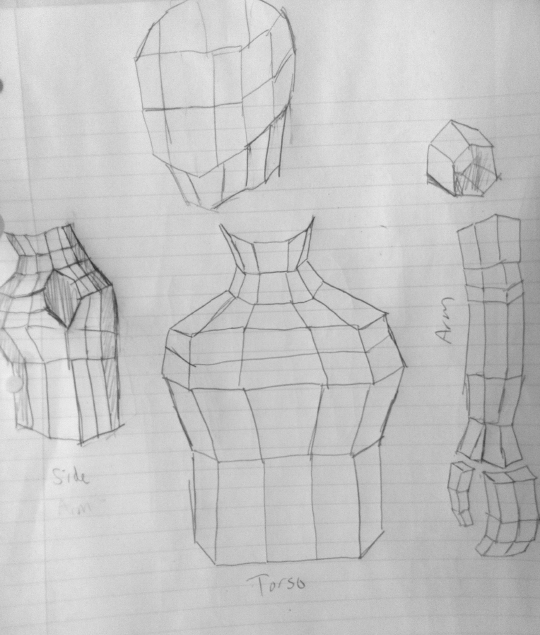
Don't take the head too seriously here, there's no good way to plan that out, especially the hair. Note that when connecting the arm to the torso, I have to split an opening in the contour. This is what you want. How else would you connect the arms? As you can see it's based on how many sides the arms need, so that's exactly why I do the limbs first. You can probably tell that while I have a grasp of drawing perspectives, I'm actually pretty bad at sketching. My lines aren't straight and I get a bit furry with them, which art teachers have been telling me not to do all my life. This is why I prefer working in computers because you can make straight lines pretty easily and correct mistakes without any erase marks. You can even make an actual square and transform it using perspective tools. All in all, this doesn't have to look good because it's only for reference.
This is a good chance for you to do some catch up in the area of concept art and planning your geometry. Next time we will dive into inserting our reference images so we can begin modeling!
thats awesome work you do
ReplyDeletewow, really cool read. I have been wanting to know more about this . . .
ReplyDeleteI can think of a few games that could make use of stuff like this ...
ReplyDeletethis is really good, must give it a go. Feeling inspired!
ReplyDeleteOne of the most interesting tutorials I've read through for a while. You've really got a talent for this stuff, keep it coming! Look forward for more!
ReplyDeleteThis was an excellent post. Thank you for sharing.
ReplyDeletenoice! Moar?
ReplyDeleteAwesome post man! Keep up this great blogging work!
ReplyDeleteAwesome man, You should expand on this idea
ReplyDeleteReally great, +Followed
ReplyDeletevery detailed tutorial.
ReplyDeleteI can do this... in 3ds max, lol.
ReplyDelete